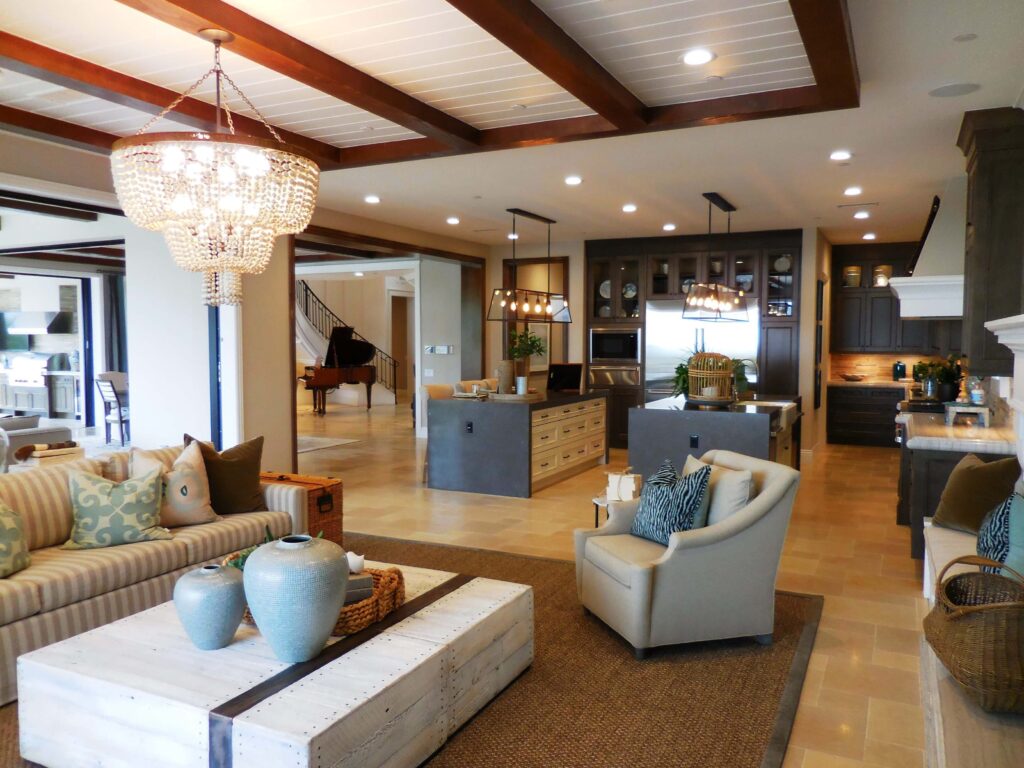
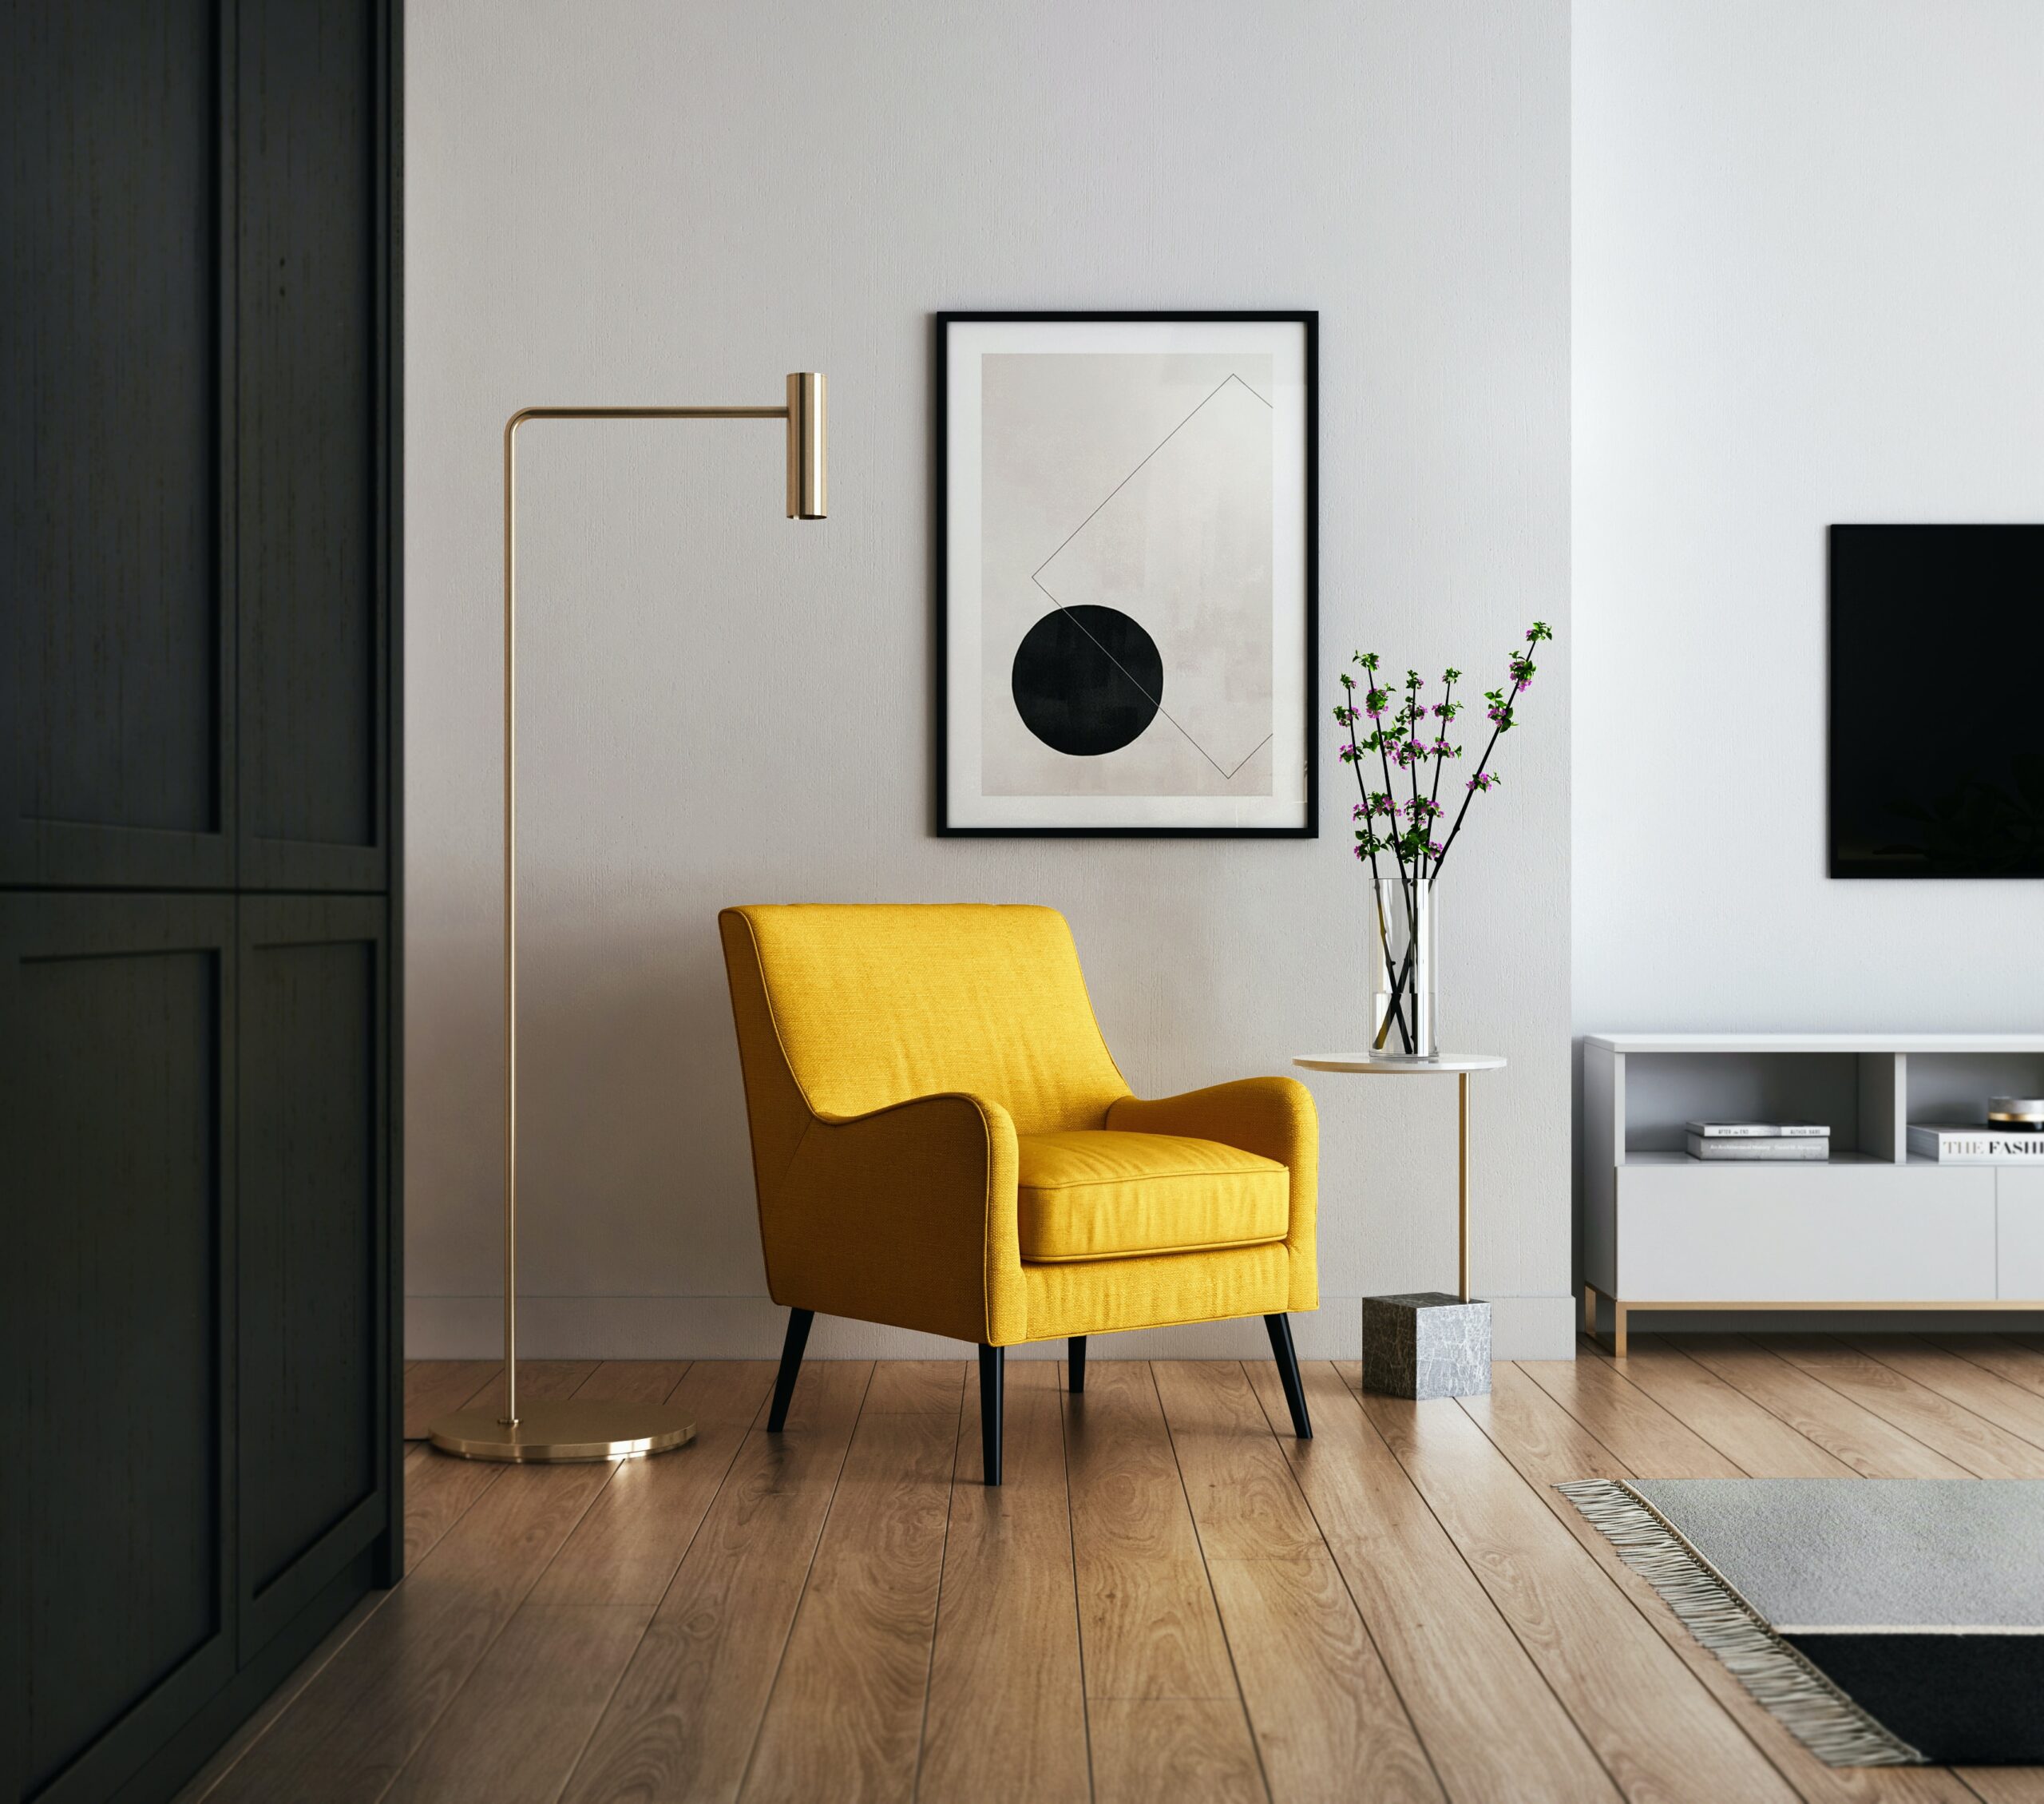
Creating a 3D representation of an interior design project involves using specialized software to model and visualize the space in three dimensions. Here are the general steps to make interior design in 3D:
- Choose 3D Modeling Software:
- Select a 3D modeling software that suits your needs and skill level. Popular options include AutoCAD, SketchUp, Blender, 3ds Max, and Revit. Each software has its own features and learning curve, so choose one that aligns with your preferences and project requirements.
- Learn the Basics:
- Familiarize yourself with the basic features and tools of the chosen 3D modeling software. Many software programs offer tutorials, documentation, and online resources to help you get started.
- Create a Floor Plan:
- Begin by creating a 2D floor plan of the interior space. Define the dimensions, layout, and placement of walls, doors, and windows. This serves as the foundation for your 3D model.
- Build 3D Structure:
- Use the 3D modeling tools to extrude your 2D floor plan into a three-dimensional space. Add walls, floors, and ceilings to create the structural elements of the interior. Pay attention to accurate measurements and proportions.
- Furnish and Decorate:
- Add furniture, fixtures, and decorative elements to your 3D model. Many software programs have libraries of pre-built 3D objects, or you can create custom models. Arrange the items to match your design vision.
- Apply Materials and Textures:
- Assign materials and textures to the surfaces of your 3D model to simulate real-world finishes. This includes applying colors, textures, and reflections to walls, floors, furniture, and other elements. Consider lighting effects as well.
- Set Lighting:
- Configure the lighting within your 3D model to achieve the desired ambiance. Adjust the direction, intensity, and color of light sources to simulate natural or artificial lighting conditions.
- Add Details:
- Enhance your 3D model by adding details such as rugs, curtains, artwork, and other accessories. Small details contribute to the realism of the visualization.
- Camera Placement and Rendering:
- Set up virtual cameras within your 3D software to capture different perspectives of the interior. Use the rendering function to generate high-quality images or even animations of your design. Experiment with different camera angles and views.
- Review and Refine:
- Review your 3D model from different angles and perspectives. Make adjustments to the design, materials, and lighting as needed. This iterative process helps refine and improve the overall presentation.
- Present and Share:
- Once you are satisfied with your 3D interior design, you can present it to clients, colleagues, or stakeholders. Many 3D modeling software programs allow you to export images, videos, or even interactive 3D models for presentations.
Remember that creating 3D interior designs requires practice and patience. Take advantage of available tutorials, forums, and resources to enhance your skills with the chosen software. Additionally, stay updated on the latest features and techniques in 3D design to improve the quality of your visualizations.

